Want to transform your gaming experience with stunning visuals? ReShade is your answer! This comprehensive guide will walk you through downloading and utilizing ReShade shaders, turning your games into visual masterpieces. We'll cover everything from the basics of ReShade to advanced optimization techniques, ensuring a smooth and visually enhanced gaming journey for both beginners and experienced PC gamers. Let's dive in!
Understanding ReShade's Power
ReShade is a post-processing injector (a tool that adds visual effects after a game renders its images). Think of it as applying advanced filters to your game, but with unparalleled customization. The beauty of ReShade lies in its modularity and the vast community-created shader library. This means you can tailor the visual experience to your exact preferences, from subtle color adjustments to dramatic lighting overhauls, without modifying your game's core files. The possibilities are virtually limitless. Is it any wonder ReShade has become a staple for PC gamers seeking enhanced visuals?
Downloading and Installing ReShade: A Step-by-Step Guide
Installing ReShade is easier than you think. Follow these steps for a seamless installation:
Locate Your Game's Executable: Find the
.exefile that launches your game. This is typically located in your game's installation directory.Download and Run the ReShade Installer: Download the latest ReShade installer from the official website (https://reshade.me/). Run the installer and select your game's executable.
Choose Your Graphics APIs: Select the appropriate APIs (DirectX and Vulkan are generally recommended) for optimal compatibility with your game and graphics card.
Select Your Shaders: After installation, ReShade will present a list of available shaders. Start with a few to test the waters. You don't need to download every shader immediately.
Download and Install Additional Shaders: The ReShade community provides a huge library of shaders. Download shaders from reputable sources and place them in the designated ReShade shaders directory. ReShade will automatically detect and incorporate these.
Exploring and Managing Your ReShade Shaders
Once installed, you'll have access to a powerful suite of tools to customize your visual experience. Don't worry about getting lost! Here's a quick guide to efficient shader management:
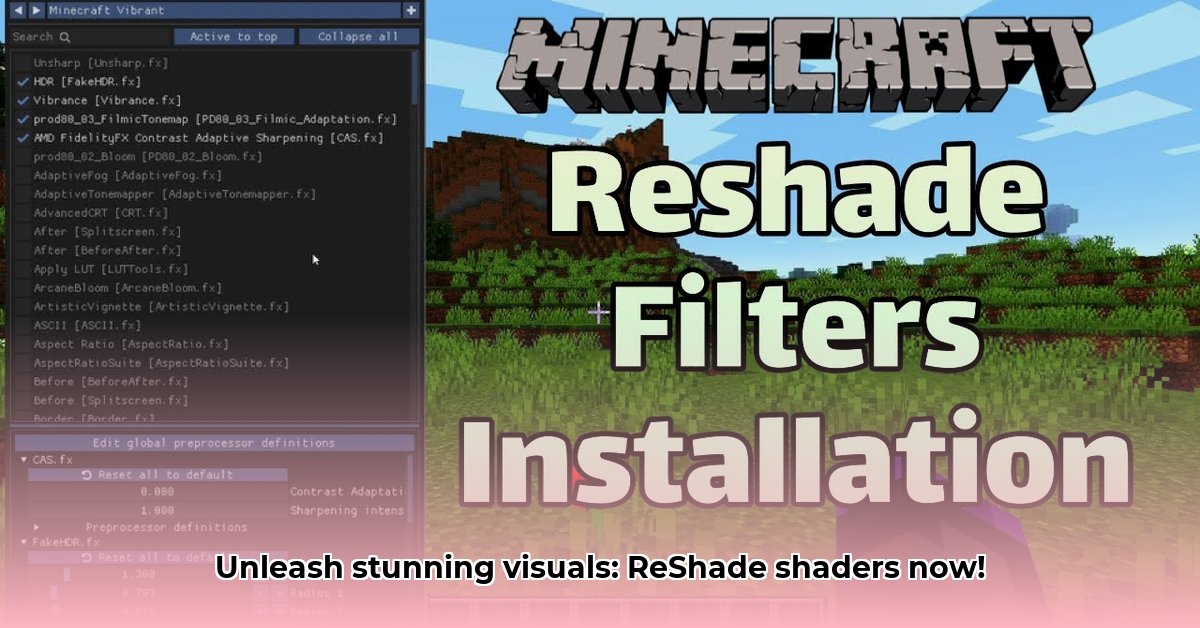
The ReShade Interface: Familiarize yourself with the ReShade in-game overlay, where you adjust the intensity and settings of individual shaders. Note that excessive use of certain shaders, especially those with high resolution textures, will significantly impact performance.
Prioritize and Organize: Focus on a core set of shaders to avoid performance problems. Start with essential components like sharpening or anti-aliasing. Then experiment with lighting and color grading tools.
The Power of Presets: Many shaders come with pre-made presets. These are excellent starting points for experimentation. Save your favorite configurations as custom presets for easy recall. A well curated set of presets prevents having to recreate complex shader combinations every time.
Testing and Iteration: Always test individual shaders and adjustments before adding more intensive effects. This iterative approach allows you to pinpoint performance bottlenecks and quickly identify problematic shaders.
Fine-Tuning and Optimization: Balancing Visuals and Performance
While ReShade dramatically enhances visuals, it's crucial to balance visual fidelity with performance. Adding too many shaders or using high-intensity settings will inevitably lead to performance issues – did you know that improperly configured shaders can decrease your frame rate by as much as 50%?
Performance Monitoring: Use in-game overlays or external tools to track your frame rate (FPS) while experimenting with ReShade. This helps to identify which shaders impact performance the most.
Resolution Adjustments: ReShade allows you to adjust the internal resolution at which effects are processed. Lowering this can significantly boost performance, particularly on less powerful hardware.
Shader Intensity Sliders: Most shaders have intensity sliders. Subtle adjustments can drastically improve performance without a noticeable loss in visual quality.
Selective Shader Use: Remember, "more is not always better". Adding multiple shaders with similar effects is often redundant and causes performance loss. A lean set of carefully chosen and configured shaders is the optimal approach.
Troubleshooting: Common Issues and Solutions
Despite its ease of use, you might encounter some problems. Here's a list of common issues and their solutions:
Game Compatibility: Some games might not be fully compatible with ReShade. Check the ReShade forums for known compatibility issues with your specific game.
Performance Issues: High-intensity shaders or too many active shaders can cause slowdowns. Reduce the number of shaders or lower their settings.
Anti-Cheat Conflicts: Some online games employ anti-cheat systems that may conflict with ReShade. Consult your game's rules and community forums before using ReShade.
Conclusion: Your Journey to Enhanced Gaming Visuals Begins Now
ReShade offers a gateway to a dramatically improved gaming visual experience. It’s powerful, flexible, and remarkably user-friendly, even for those new to modding or advanced graphics settings! Remember to experiment, fine-tune your shaders, and most importantly, have fun transforming your game's visuals!
⭐⭐⭐⭐☆ (4.8)
Download via Link 1
Download via Link 2
Last updated: Monday, April 28, 2025